QGIS Script · Python
Coloured Hillshade Generator
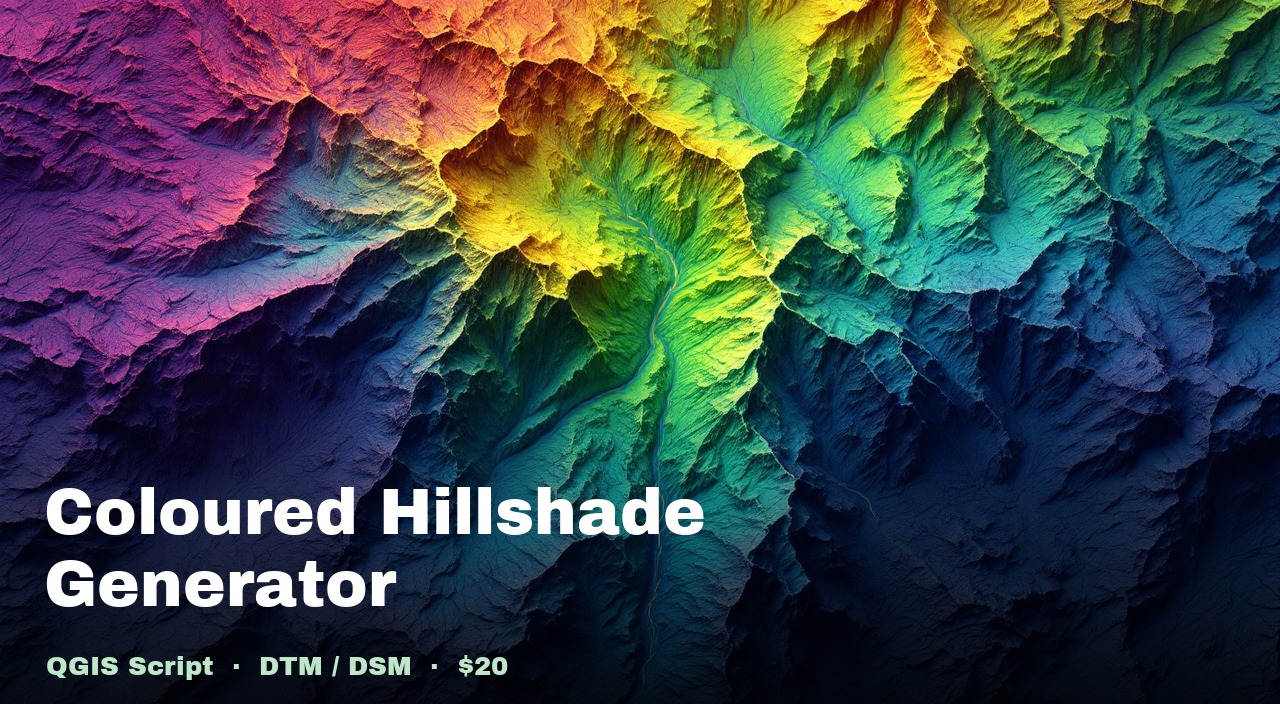
A single Python script for the QGIS Script Editor that turns any DTM or DSM raster into a publication-ready coloured hillshade, in a viridis colour ramp, blended with multidirectional hillshade shading.
Without hillshade rendering, a Digital Surface Model or Terrain Model looks bare and unusable visually. The colour ramp and shading allows a human to perceive depth and 3D features, in a 2D map layer.
What you get
generate_hillshade.py — fully commented Python script What it does
Multidirectional hillshade
Averages light from multiple azimuths for shadow-free terrain detail — no blind valleys.
Viridis colour ramp
Purple → blue → teal → green → yellow. The same palette used by WebODM and scientific terrain tools.
Auto-downsampling
Files over 50 MB are intelligently scaled down before processing so large drone outputs don't hang QGIS.
Smart normalisation
Flat terrain (< 100 m range) uses percentile stretch so the full colour palette is visible. Varied terrain uses absolute min/max.
RGBA GeoTIFF + JPEG output
GeoTIFF preserves nodata transparency and georeferencing. JPEG is for quick sharing with clients.
Auto-loads in QGIS
The output layer is added to your QGIS project immediately — no manual drag-and-drop.
Who it's for
- Drone survey professionals processing DSM/DTM outputs from WebODM, Pix4D, or DJI Terra
- GIS analysts who want publication-quality terrain visualisations without manual renderer tweaking
- Surveyors sharing deliverables with clients who expect clear, coloured terrain maps
- Anyone who wants WebODM-style hillshades without running WebODM
Requirements
How to use it
- 1
Open QGIS and load your DTM or DSM raster.
- 2
Check (tick) the layer visible in the Layers panel.
- 3
Open Plugins → Python Console → Show Editor.
- 4
Paste the script. Set
ELEVATION_SOURCEto"dtm"or"dsm". - 5
Click Run. The coloured hillshade is generated and added to your project.
Configurable parameters
Open the script and adjust ELEVATION_SOURCE ("dtm" or "dsm"),
DOWNSAMPLE_THRESHOLD_MB (default: 50),
and the z_factor / azimuth / altitude
at the bottom of the file to match your terrain and lighting preferences.
Built-in instructions
The script includes a usage reference block at the top — so you always have the parameter guide without needing to look anything up.
Ready to use it?
One-time purchase. Download the script, paste into QGIS, and your next hillshade is ready in minutes.