WebODM is a powerful open-source platform for drone image processing, offering flexibility and control unmatched by most commercial alternatives. However, being open source and Docker-based, it sometimes requires manual troubleshooting — especially for memory issues, container crashes, and processing failures.
This guide covers practical troubleshooting methods primarily for Mac users, though the same logic applies to Windows. If you have installed WebODM already, this guide will help you diagnose and fix most common problems efficiently.
Basic WebODM Commands
When managing WebODM through Terminal, these are the commands you will use most:
# Start WebODM
./webodm.sh start

# Stop WebODM
./webodm.sh stop

# Restart with fresh node setup (useful for troubleshooting)
./webodm.sh restart --default-nodes
Terminal-Level Troubleshooting
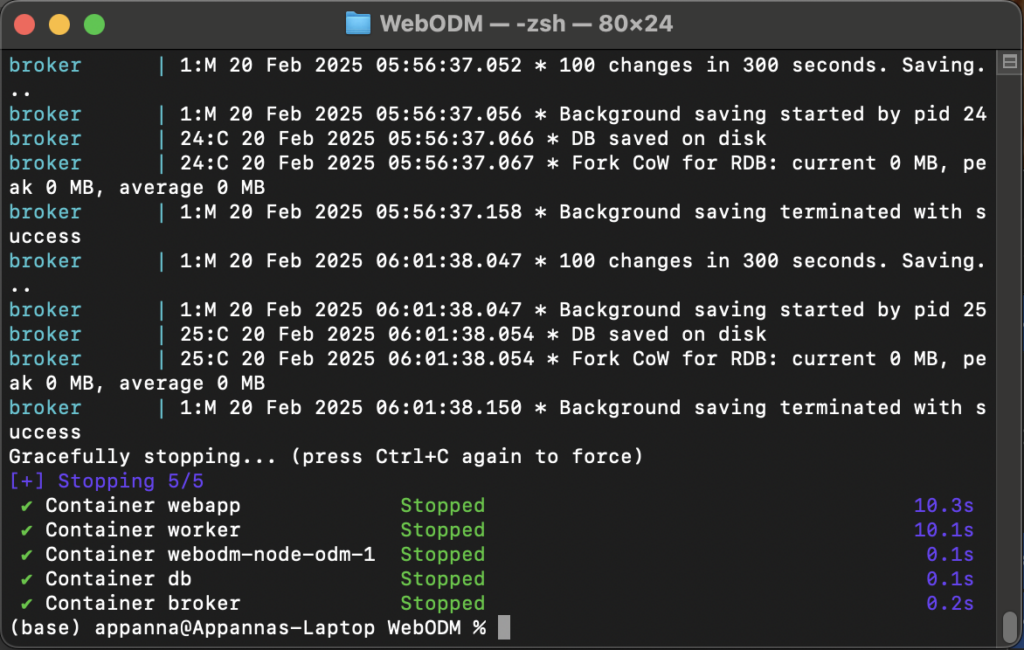
If WebODM becomes unresponsive or processing stalls, start with Terminal.
Step 1 — Stop current processes
Use Ctrl + C to terminate any running processes cleanly.
Step 2 — Safe restart
./webodm.sh stop
./webodm.sh start
If WebODM fails to restart or you cannot reach http://localhost:8000, restart the nodes:
./webodm.sh restart --default-nodes
If none of these work, proceed to Docker-level troubleshooting.
Docker Troubleshooting
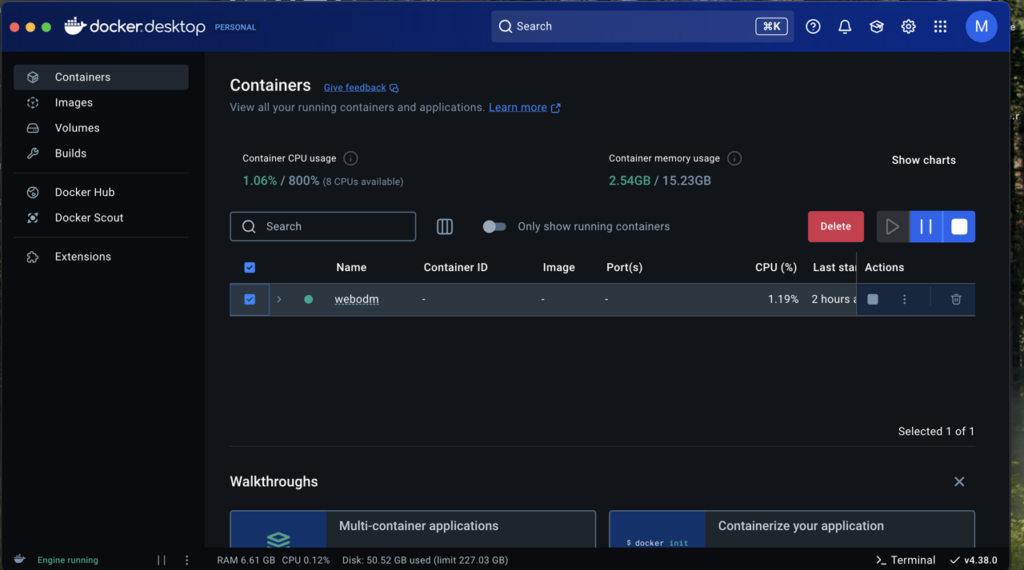
WebODM relies heavily on Docker. Problems with storage, RAM, swap memory, or stale containers are a common root cause of failures.
Check your resources first

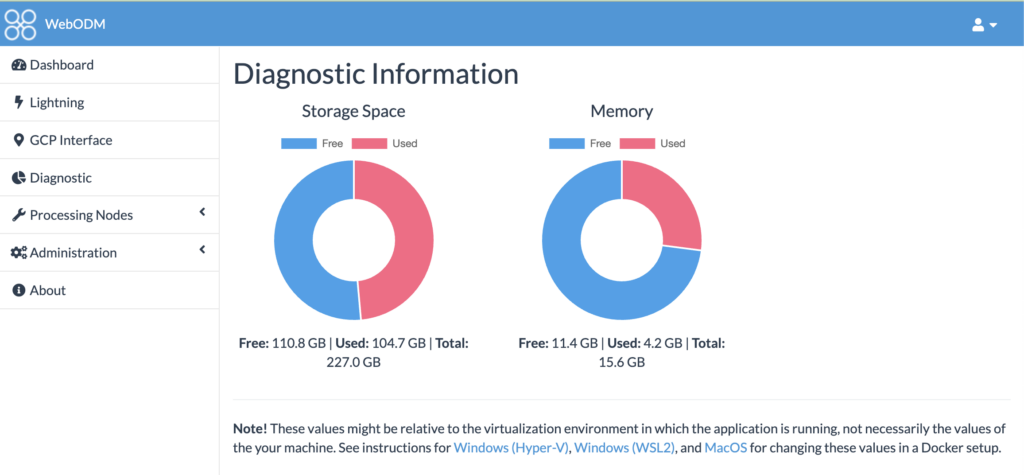
- Ensure your hard drive has ample free space — processing tasks often require 6x or more the raw image file size
- Set RAM and Swap memory allocations to maximum in Docker Desktop settings
- Use WebODM’s Diagnostics Panel to anticipate memory issues before launching large tasks
A 15 GB set of raw images may require 90 GB or more of free disk space during processing.
Three Levels of WebODM Cleanup
Level 1 — Salvage completed tasks (crash recovery)

Use this if WebODM crashes but you have completed tasks you have not yet downloaded.
- Delete the current Docker container only
- Delete all Docker volumes except
webodm_appmediaandwebodm_dbdata - Start WebODM:
./webodm.sh start - Once the UI loads, immediately download all completed tasks using the All Assets option
This preserves old processed outputs while freeing up basic system resources.
Level 2 — Full resource cleanup (before heavy new tasks)
Use this before starting large processing tasks where you need maximum disk space.
- Delete the Docker container and all volumes, including
webodm_appmediaandwebodm_dbdata - Start WebODM:
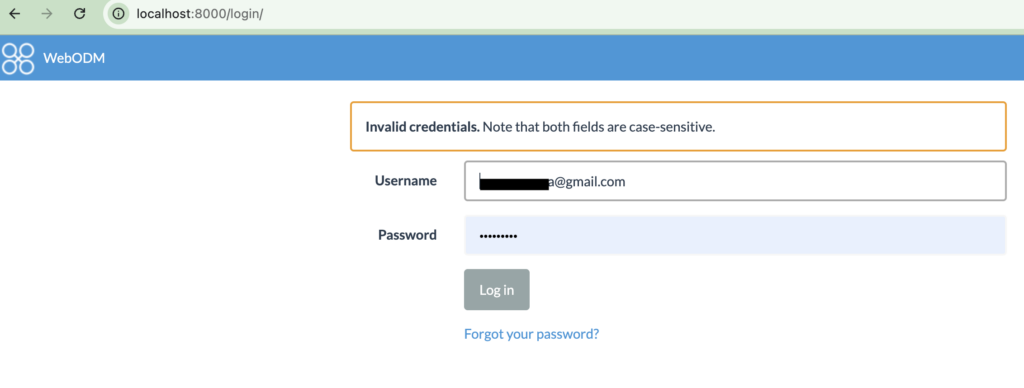
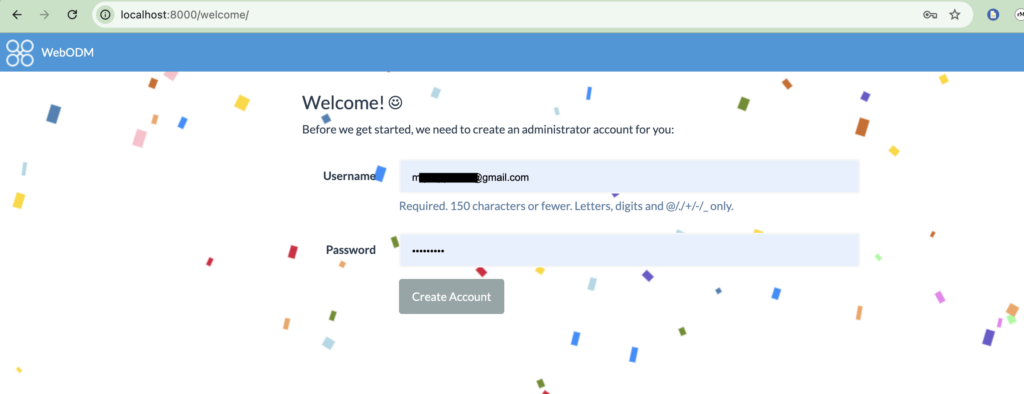
./webodm.sh start - If login issues occur, navigate to
localhost:8000/and re-register or use saved credentials
This ensures maximum free space and clears all stale task data.
Level 3 — Image delete and full reset (deep software issues)
Use this if WebODM continues malfunctioning after container and node resets.
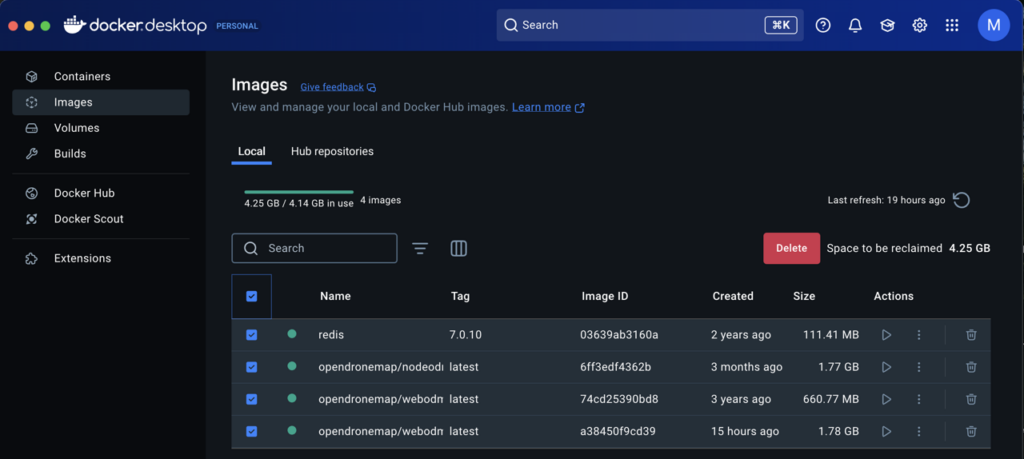
- Delete Docker containers and images
- Restart WebODM using the terminal — it will pull a fresh image from GitHub:
./webodm.sh start - Choose whether to preserve volumes (salvage old tasks) or delete everything for a clean start
This resolves deeper software conflicts but is slower because it re-downloads WebODM.
General Troubleshooting Tips
- If Docker itself freezes, force-quit Docker and restart your computer before attempting WebODM commands
- WebODM Lightning Node cloud processing is sensitive to unstable internet — prefer local processing on a fast connection
- Multispectral image processing sometimes fails over cloud processing due to band mismatches caused by upload interruptions — always verify band counts before uploading
- Consistent internet is critical even if you are using the Lightning Node locally via your own instance
Best Practices for Reliable Processing
- Run only one task at a time — concurrent tasks compete for RAM and disk I/O
- Download completed tasks immediately after they finish — do not leave completed tasks sitting in WebODM
- Perform Level 2 cleanup frequently, especially before starting a new project from scratch
- Separate RGB and multispectral processing into distinct tasks — never mix them
- For RGB images: use Default processing mode, enable DTM if needed, set orthophoto resolution to 2 cm
- For multispectral images: select only Multispectral mode — no additional settings needed
- Download “All Assets” rather than “Backup” to minimise file size and avoid resized images
- Prefer local processing, then upload final outputs to WebODM cloud if remote access is needed
Maintaining a clean, resource-optimised local WebODM instance ensures faster, more reliable processing and far less frustration in the field.
Conclusion
Troubleshooting WebODM becomes straightforward once you understand the three-tier cleanup approach — from basic container restarts, through full volume cleanup, to image re-download. Most failures are Docker resource issues, not software bugs.
The processing report generated by WebODM, combined with flight log data from a dedicated flight log tool, gives you a complete picture of data quality for every survey project.
If you want expert help setting up a streamlined drone data workflow, contact Future Thota. We specialise in drone mapping, processing optimisation, and geospatial data solutions for agricultural and plantation sectors.