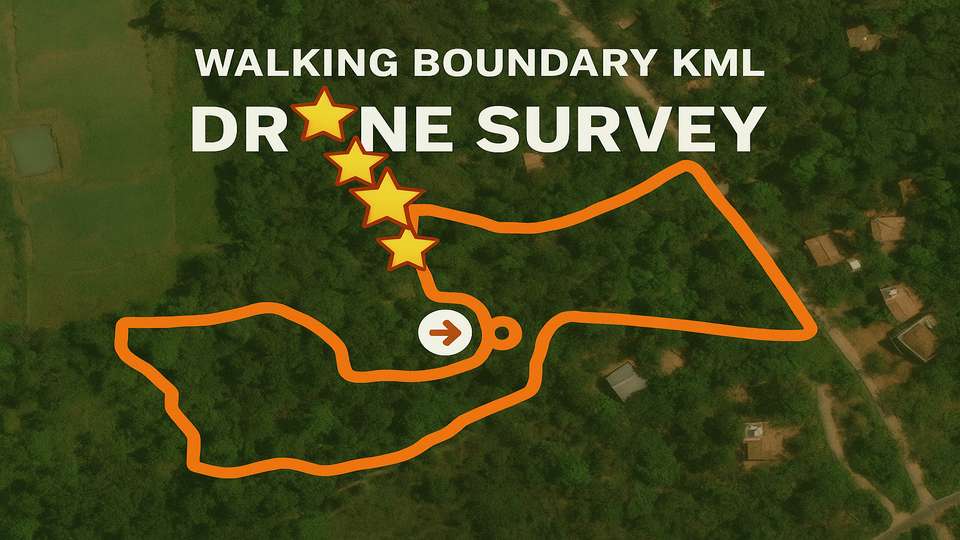
Every successful drone survey begins with an accurate boundary KML of the land. Historically, surveyors used chains or ropes to physically measure boundaries — but these methods consistently underestimated true surface area, especially in terrain with hills, valleys, or dense vegetation.
Modern boundary mapping with GPS and drones enables slope-corrected, true surface area estimations. This guide walks through the complete process of creating a walked boundary KML for your next drone mapping mission.
Why Accurate Boundary Mapping Matters
An imprecise boundary KML causes several problems:
- Wasted battery and flight time covering unnecessary areas
- Missed sections of important land during the survey
- Privacy concerns from overlapping neighbouring properties
- Inaccurate zonal statistics in post-processing
By walking the boundary carefully and generating a clean KML file, you ensure that the drone captures exactly the intended area — maximising operational efficiency and data quality.
Step 1: Walk and Capture the Boundary with a GPS Device
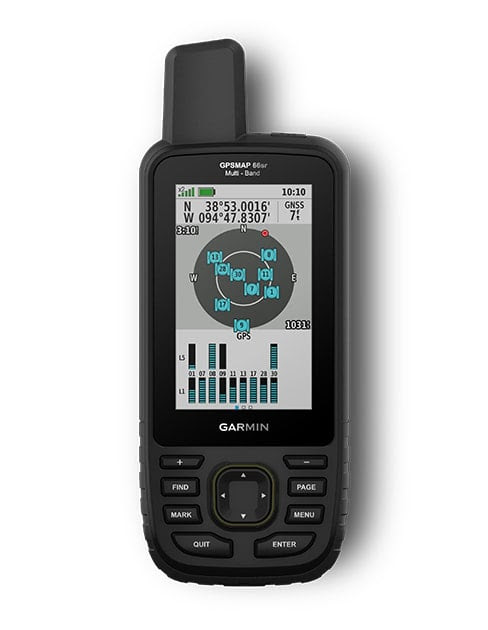
The first step is to physically walk the boundary using a handheld precision GPS device. A good quality GPS device offers up to 6 ft positional accuracy — sufficient for most plantation boundary work.
Method
- Set the GPS to manual recording mode:
- Go to Recording settings
- Turn off Auto Start and Auto Pause
- Start tracking: begin manual recording at the start of your boundary walk
- Walk the complete perimeter carefully — corners, fence lines, roads
- Use waypoint marking at major plot corners for additional precision
- Stop recording when you complete the circuit and return to the start point
Pro tip: Walking 10 acres typically takes around 35 minutes at a steady pace. Your output will be a track file for the full boundary and multiple waypoint files for corners.
Step 2: Export GPS Data via Garmin Explore App
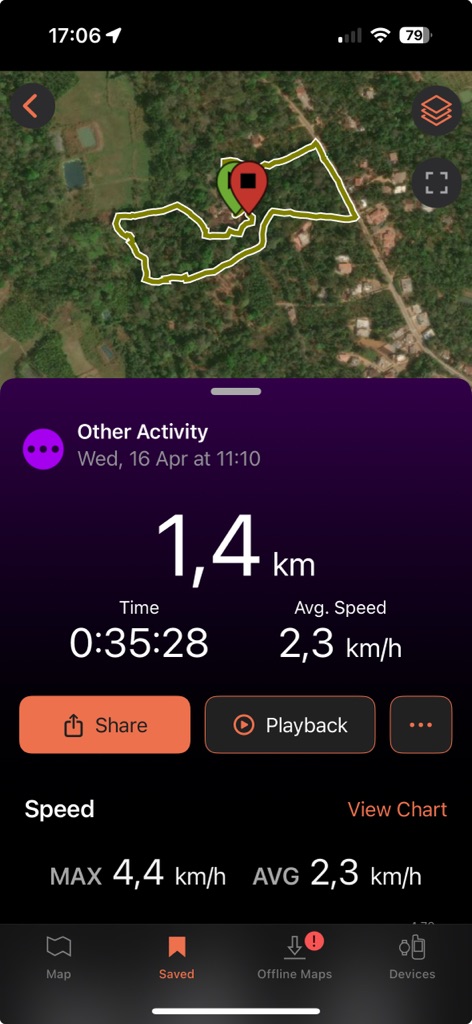
After recording:
- Sync your Garmin device with the Garmin Explore app (available for iOS and Android)
- Under the Saved tab, locate your Activities (boundary paths)
- Export the track: Share > Save to Files > choose your destination folder
- Export waypoints: group related waypoints into a Collection > Share and save similarly
Files are exported in .GPX format — ready for KML conversion.
Step 3: Convert GPX to KML Using Map Plus App
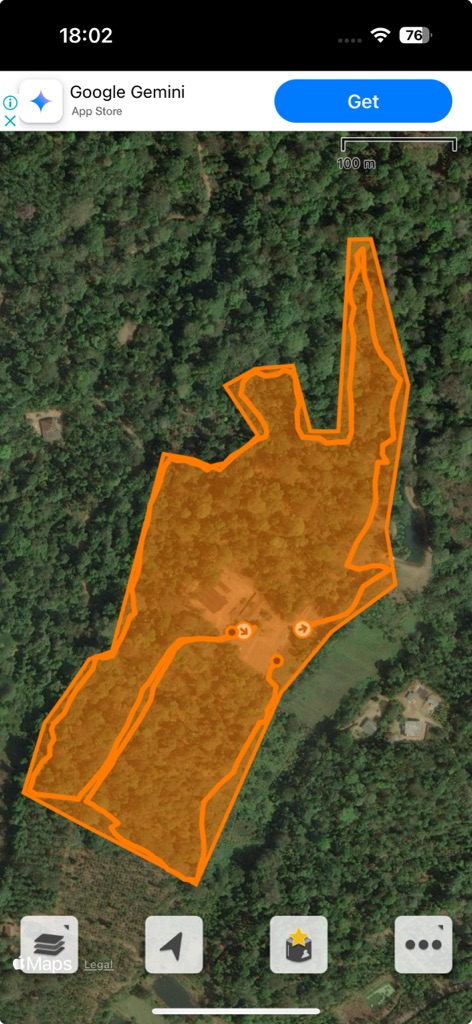
Once you have your GPX files, use an app like Map Plus Pro to generate a clean KML boundary file.
Why Map Plus:
- Affordable one-time in-app purchase for multi-format export
- User-friendly interface optimised for boundary creation
- Exports KML compatible with DJI Pilot 2 and most mission planning software
Basic Process:
- Import the GPX file into Map Plus
- Trace and create a KML polygon over your walked boundary
- Export the KML file
- Transfer the KML to your drone’s RC SD card (using a USB card reader or direct transfer)
- Import the KML into your flight planning app
Your drone mapping mission will now fly exactly along the true physical boundary of the estate.
Notes on Sub-Boundaries
While mapping, you may also create sub-boundaries inside the main boundary KML. These smaller polygons are useful during:
- Post-processing for zonal statistics
- Survey reports segmented by estate block
- Precision analysis of specific plantation sections
For the initial flight mission, a single outer KML covering the full plot is sufficient. Internal divisions can be created during the data analysis phase in a GIS tool.
Conclusion
Accurate boundary KML creation is the foundation of any reliable drone survey. Walking the boundary with a precision GPS device, exporting via a companion app, and generating a clean KML polygon ensures your drone mapping missions are precise, efficient, and ready for true area calculations.
At Future Thota, we specialise in professional boundary mapping and drone surveys for plantations, farms, and terrain across South India. Contact us for assistance with boundary KML preparation and full drone mapping solutions.