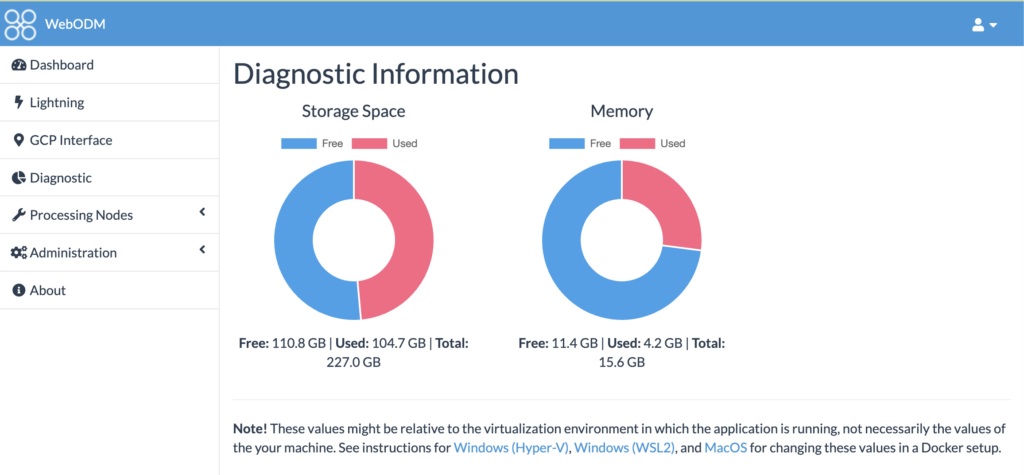
This post assumes you have already installed and setup WebODM. For this you typically need a docker container running in the background and a terminal to launch WebOdm. These instructions work well on Mac but might apply to Windows systems too. The only difference might be instead of a ‘terminal’ as we have in Mac, you might use the windows equivalent.
Basic commands
These are the commands you will end up using the most, and also to troubleshoot and reset the containers when things get hairy. WebODM although an amazing tool, is still open source and hence tends to be quite glitchy to operate.
-
To start WebODM, in the terminal type: ./webodm.sh start
- To stop: ./webodm.sh stop
- To restart, used in situations where you want to troubleshoot:
./webodm.sh restart –default-nodes
Terminal
- If there is any issue with the WebODM instance that may manifest as issues with processing or anything else, the first step is to use ctrl + C to stop the running process in the terminal. (In some cases it terminates automatically in which case directly move to the Docker troubleshooting first.)
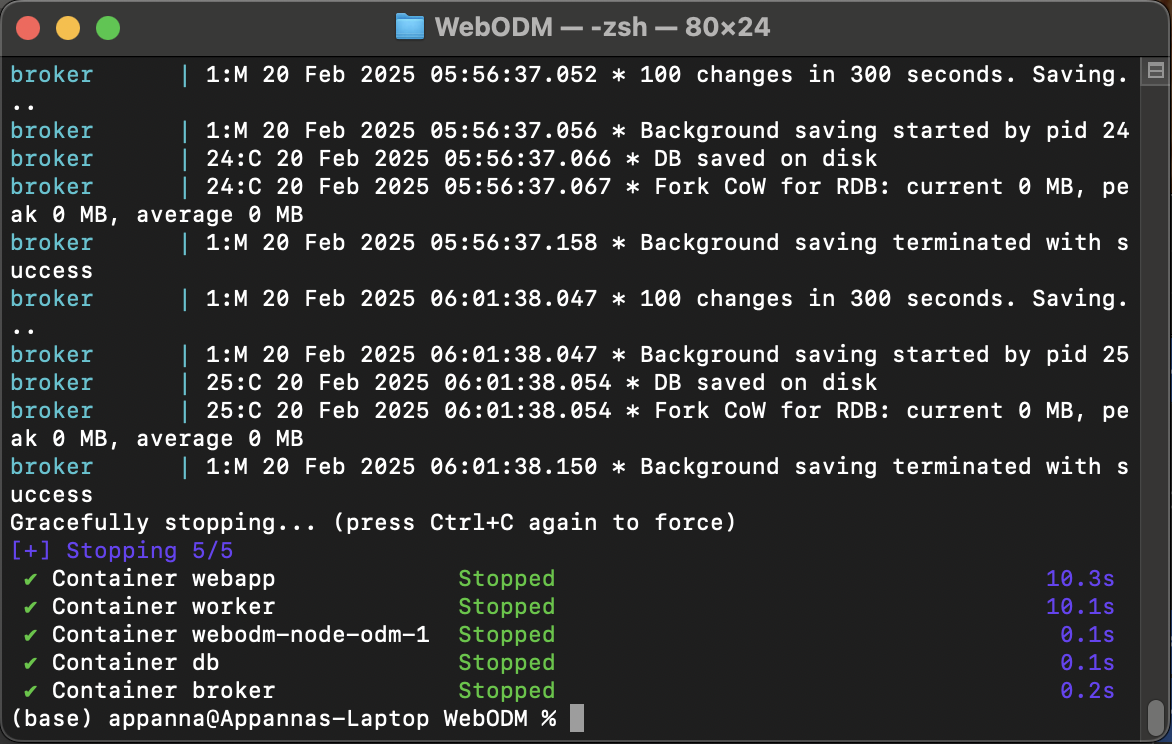
- Attempt to safely stop and start, in case of connection issues: ./webodm.sh stop and start: ./webodm.sh start
- If the instance is not firing up again (unable to load the UI on browser address Localhost:8000) with the ‘start’ command, try restarting the nodes: ./webodm.sh restart –default-nodes
- If these fail to start the instance, you may have to clear out some things in docker.
Docker Troubleshooting
- Before you proceed with the other steps of the troubleshooting, make sure to check and see if you have enough storage space on your hard drive, and the resource parameters like RAM, Swap memory are set to max in the docker resource settings.
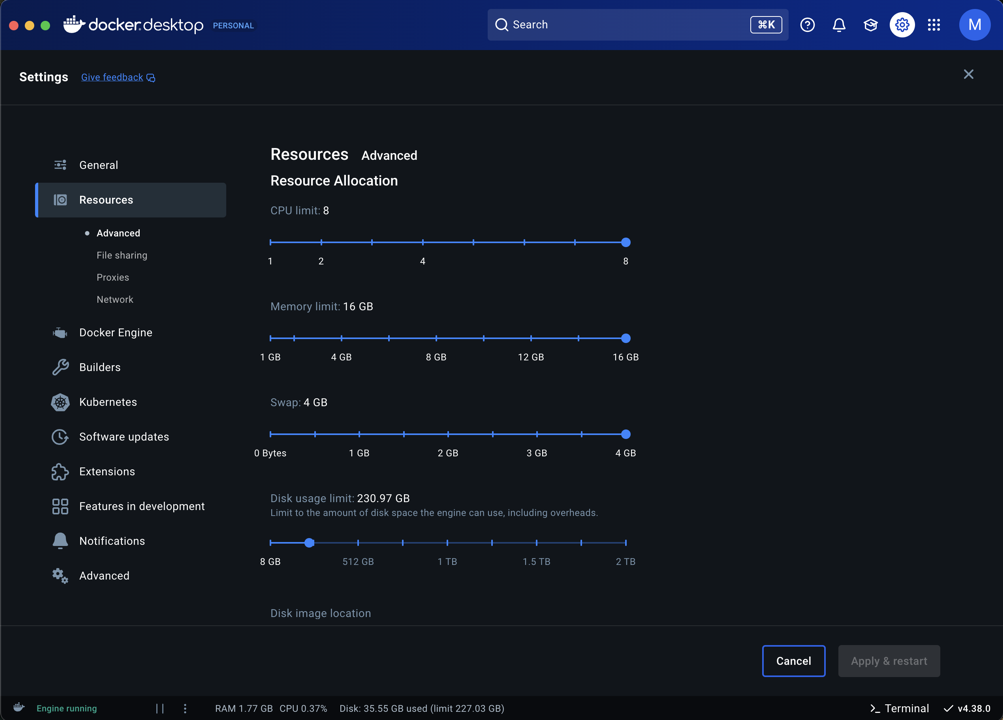
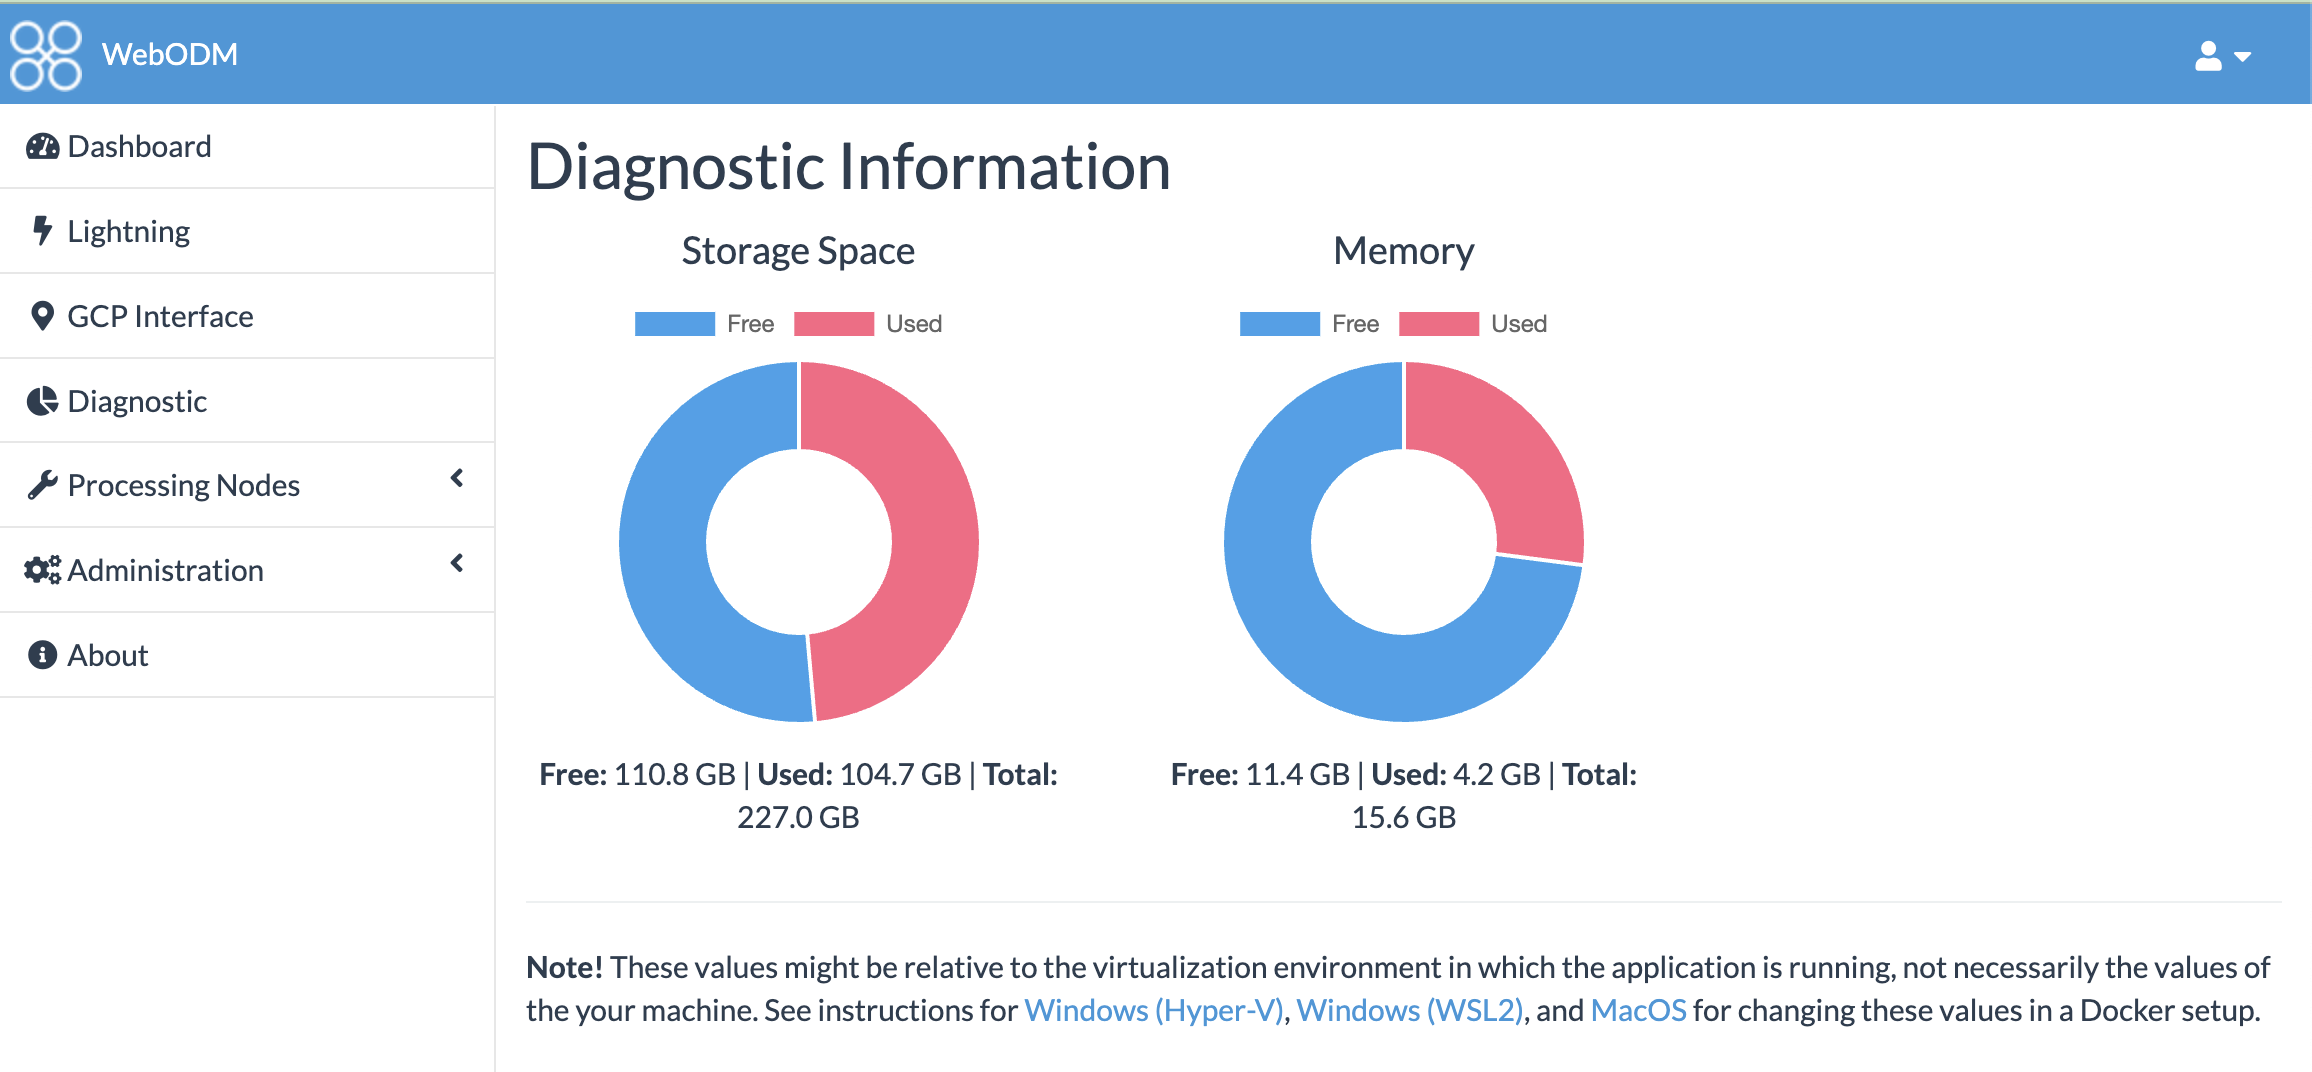
- Note that overheads (files generated on the fly while processing) can add up much more than the size of images, especially in MS processing. So a 15 GB input image file size may need more than 90 GB of free hard drive space. In the screenshot above although the disk usage is set to 230 GB, if my laptop has only 40 GB, then only 40 GB of space is available. So you may also need to check the storage of your laptop hard drive and clear up space if necessary. Consult the ‘Diagnostic’ in the side bar of WebODM console to view the status after each task to anticipate when ‘not enough memory’ issues might arise.
For the sake of indicating the depth of cleanup and why you might want to do one thing or the other, levels have been mentioned against each of these. Level 1 is the least destructive to existing tasks, while level 3 involves pulling a fresh install from github which takes some time.
Salvage completed tasks – level 1
In cases where the local WebODM instance terminates the process by itself due to some issue (usually memory), and you have some tasks which have completed that have not been downloaded yet, we can attempt to salvage these tasks by downloading the assets after starting it back up.
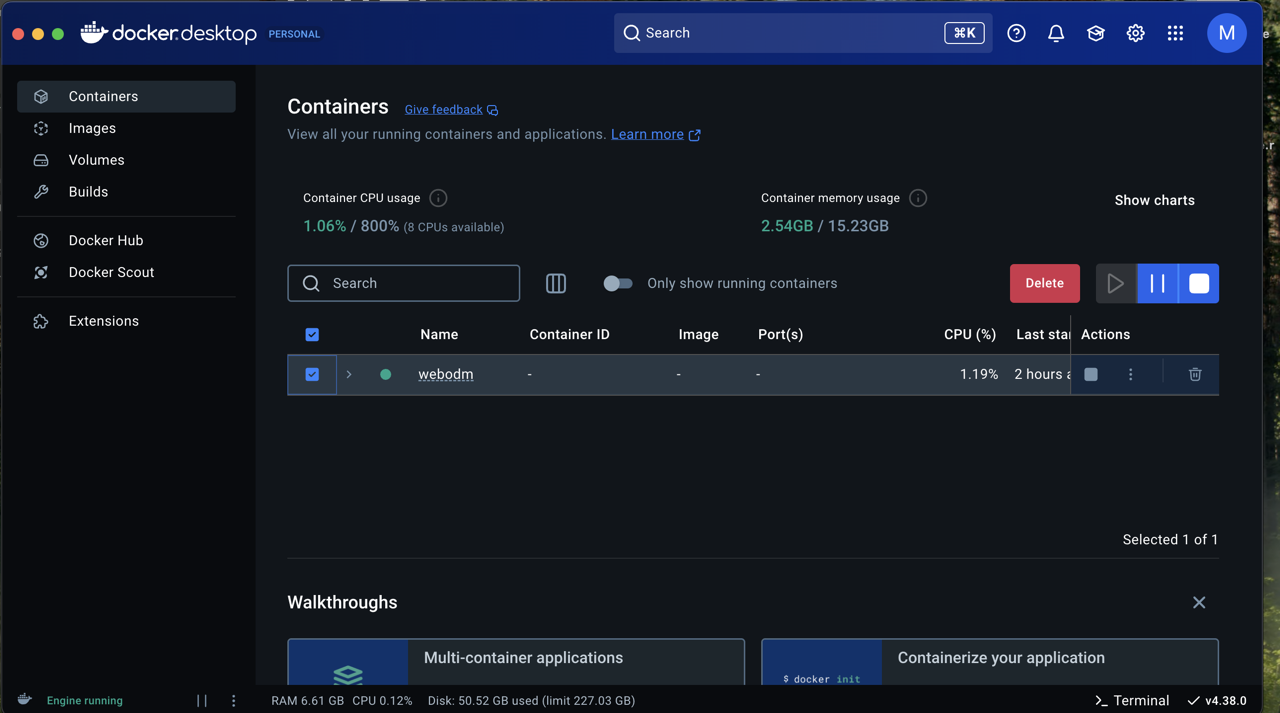
- First delete the docker container
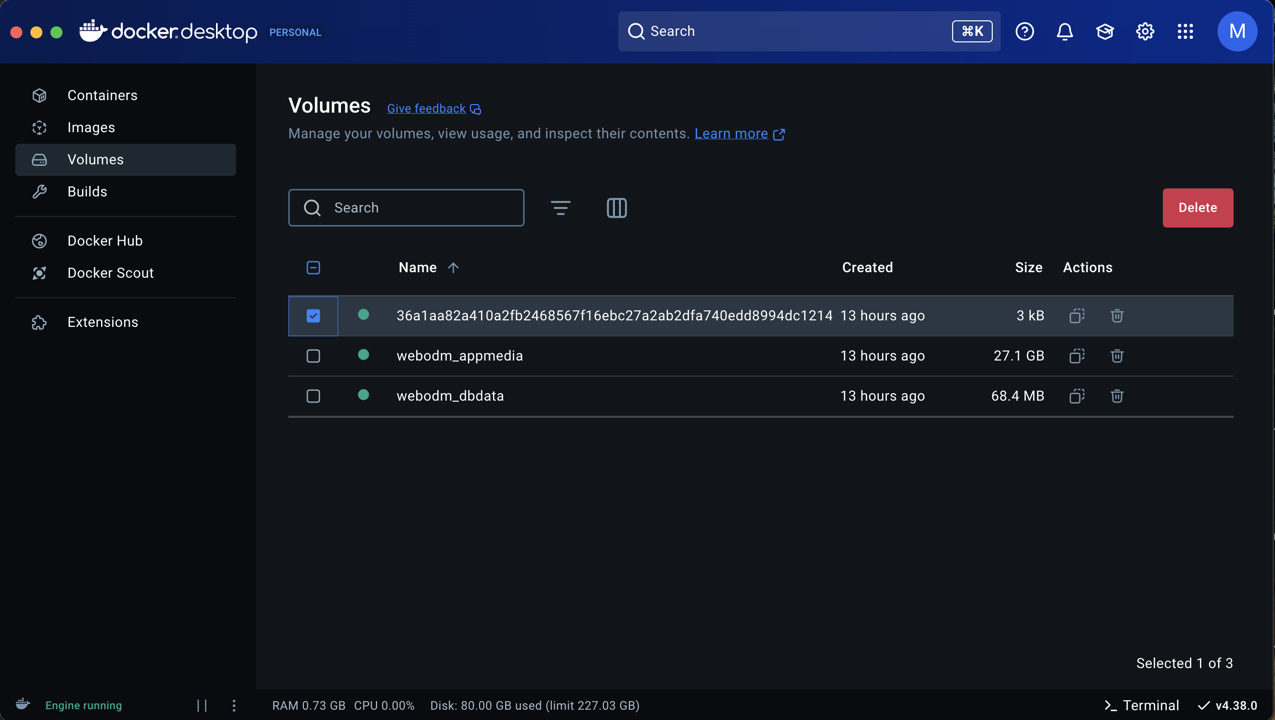
- Then delete all volumes except “webodm_appmedia” and “webodm_dbdata”. This will allow you to salvage any completed tasks which have not been downloaded yet.
- Start the webodm instance using the start command in the terminal. If the instance opens in the browser, you can salvage any completed tasks by downloading it, selectign ‘All Assets’.. Make sure to follow up with a more thorough cleanup of resources for subsequent processing tasks because clearly resources have become scarce at this stage.
Resource cleanup – level 2
In this level, we clear up all the volumes including “webodm_appmedia” and “webodm_dbdata”. So when you start the webodm instance, it opens up fresh without any overhead files eating up space. This is essential for starting a new processing tasks that may be heavy and when working with a limited storage and resources of a laptop.
- Same as in level 1, the container has to be deleted first before the volumes can be freed up.
- When deleting the volumes, select all including “webodm_appmedia” and “webodm_dbdata”, and then delete. This deletes all old task data.
- Start the WebODM instance on the terminal.
- You may be prompted to login again but clicking login might give you an error
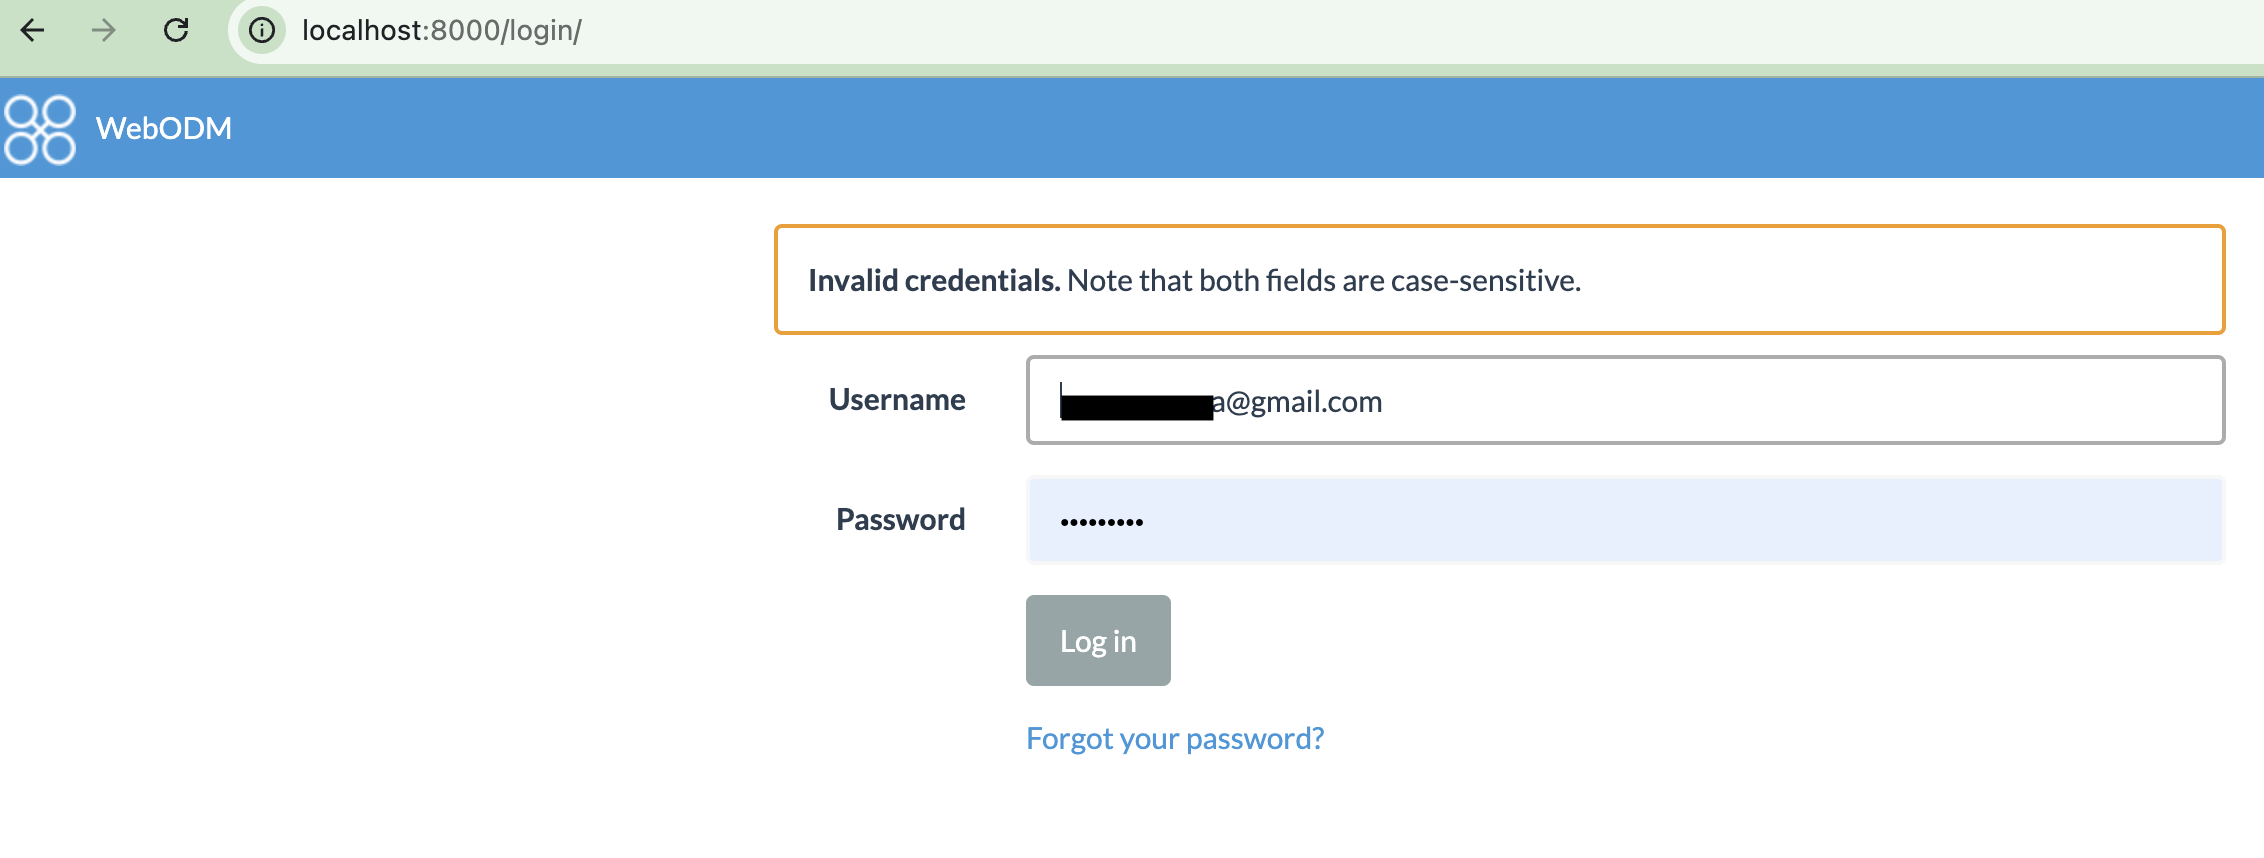
- You can fix this by removing ‘login’ in the address to just localhost:8000/ and hit enter. You will be presented with a welcome page with same credentials saved. Just continue with ‘create account’ and continue with adding the processing tasks.
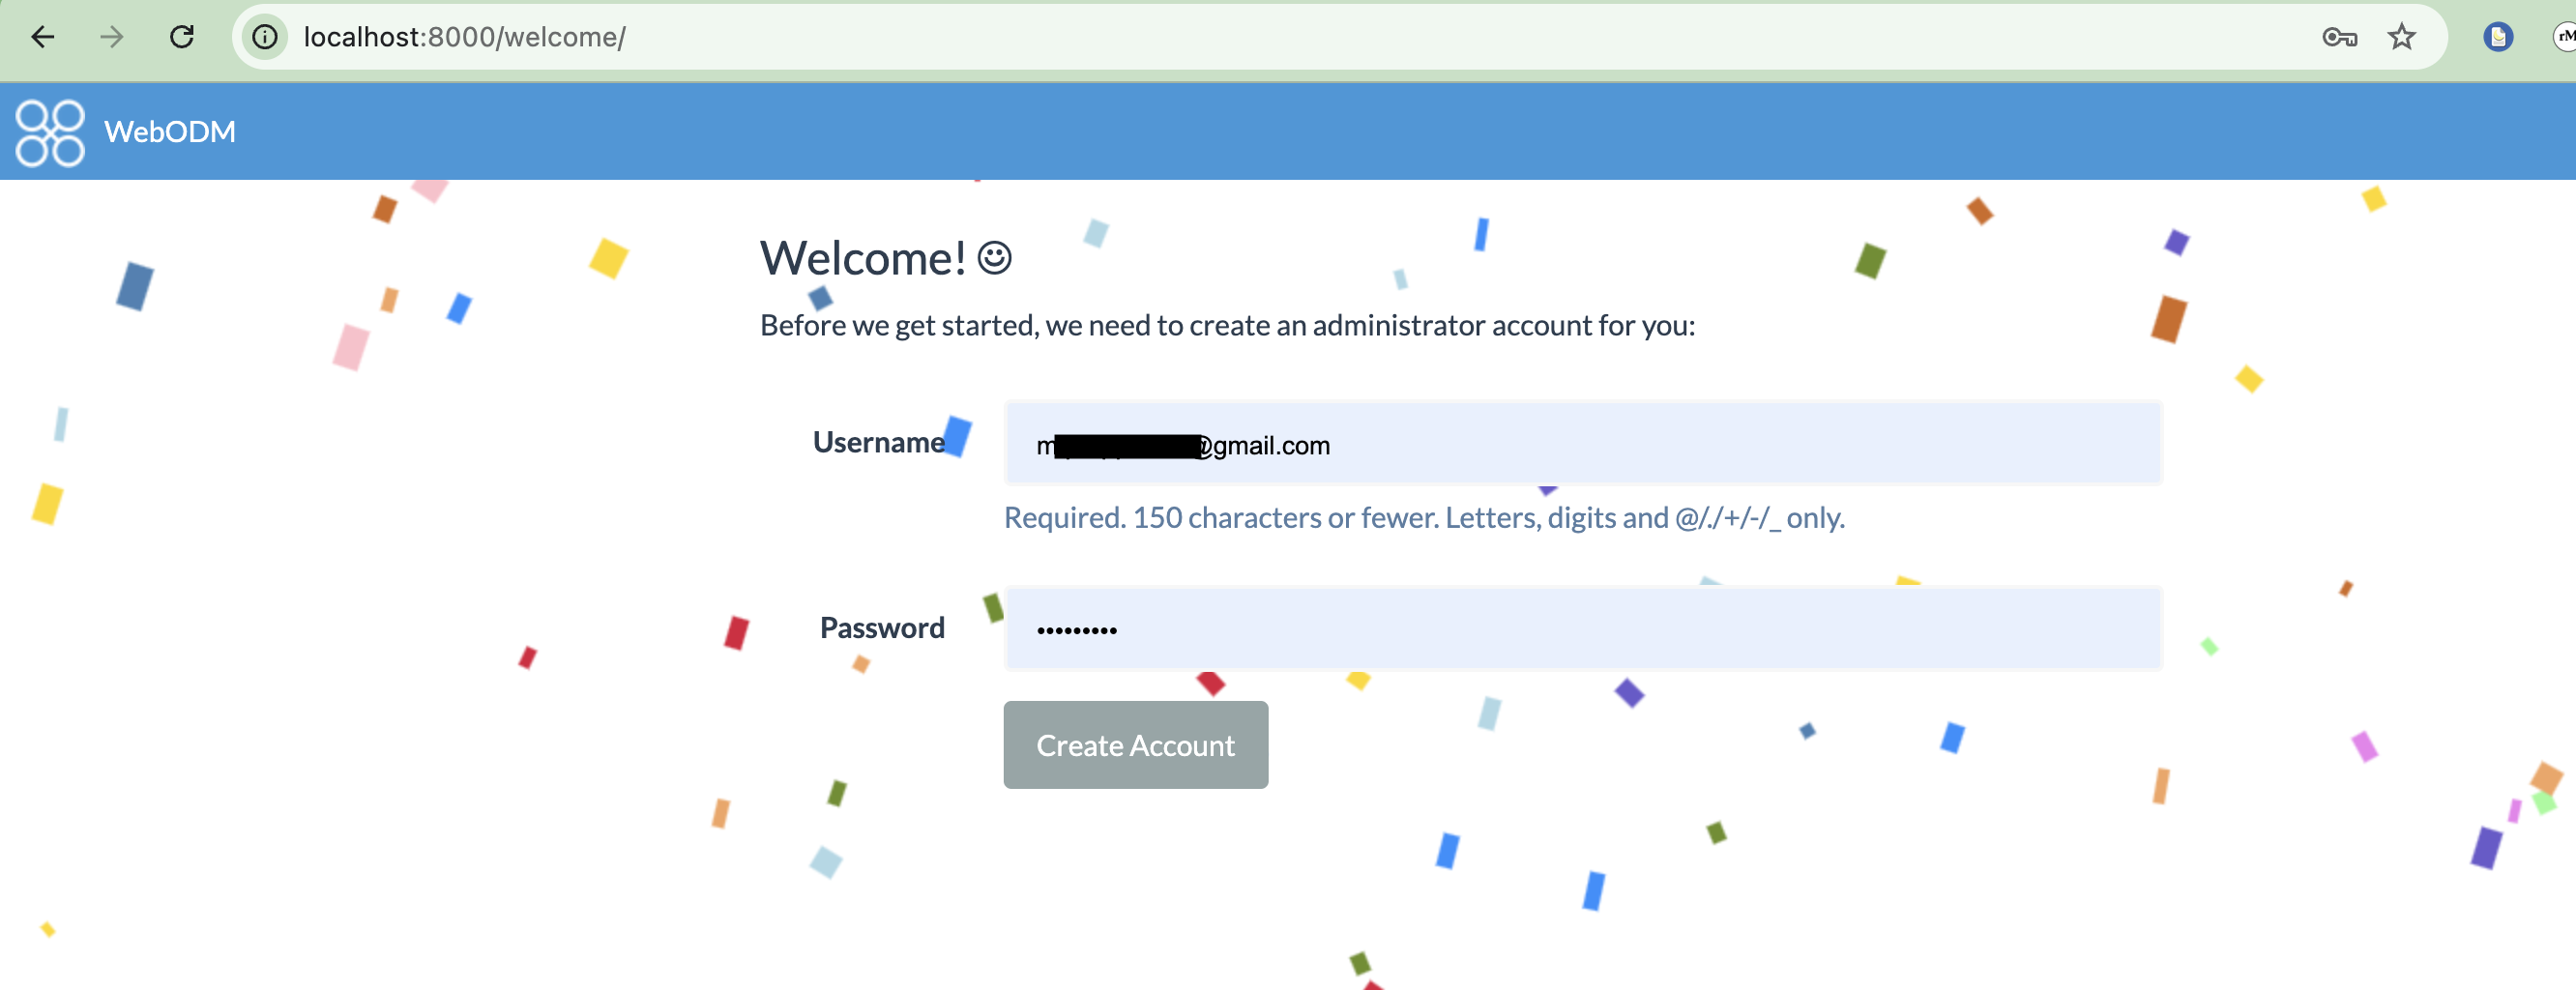
- You may be prompted to login again but clicking login might give you an error
Image delete – level 3
Here we will delete the WebODM image which was downloaded during install. This ensures that any deeper issues with WebODM may be resolved. It is rare to do this, but if none of the above options work, you can try this.
- Start with Step 1 as shown previously, by deleting the docker container.
- Then depending on if you want to keep the previous tasks or not, you can do the following:
- Just delete the images and proceed to start WebODM again from the terminal. This will pull a fresh image of WebODM from Github. You could potentially salvage some completed by not downloaded tasks through this workflow.
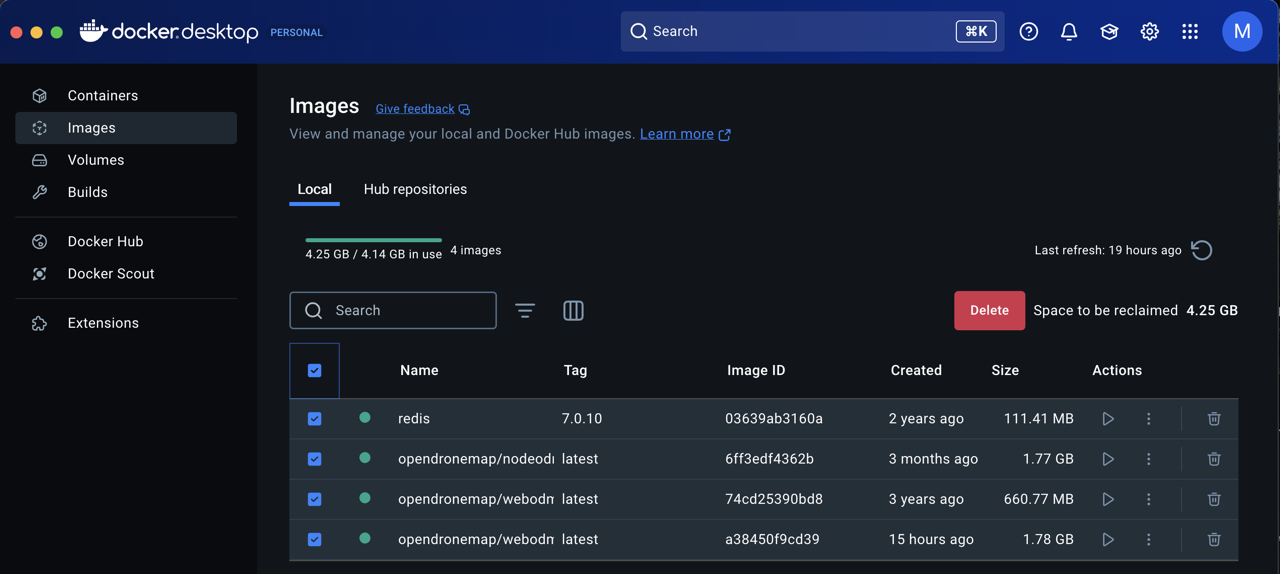
- Or delete all images and also all the volumes, as shown in step 2 of level 1. This will erase all previous tasks too.
- Just delete the images and proceed to start WebODM again from the terminal. This will pull a fresh image of WebODM from Github. You could potentially salvage some completed by not downloaded tasks through this workflow.
Other general troubleshooting
- When WebODM has crashed for some reason, docker may be the actual cause. On trying to restart docker, if you notice that you are unable to, then force kill and start it again. If force kill does not work you may have to restart your Mac.
- WebODM lightning (cloud processing node – paid) is very sensitive to choppy internet connections but the local instance using lightning seems to work well for RGB even in slower internet. The same is not true for processing MS using lightning.
- Sometimes MS may fail due to larger number of images and potential mismatches while checking if equal number of images have been uploaded for each band. This seems to be a glitch especially with slower connections.
Best Practices
- Run 1 task at a time and always download the task soon after it has been completed.
- Clear up the resources using level 2 mentioned above, frequently, and especially before large tasks. This ensures you do not waste time in encountering failed processing errors due to resource issues.
- RGB images and MS (Multispectral) images should be processed in a separate tasks.
- For RGB ‘Default’ mode then edit and check DTM for processing this too. Set the Orthophoto resolution to 2 cm.
- For MS, just select the ‘Multispectral’ option without other edits to the run configuration.
- Try to use the local instance of WebODM for processing, either with the local node or lightning node, instead of processing directly on the lightning platform. The downloading of finished files is easier with this.
- Multispectral processing using the lightning node may have issues. So instead attempt to free up space using previously mentioned steps, and process using the local node on local WebODM instance.
- Consistent internet connection is required for using WebODM lightning. Expect issues if the connection is intermittent.
- The ideal workflow is to keep the local instance of WebODM free of any old tasks, and only process new tasks on a clean slate. Then download the processed files and ‘import’ into the webodm cloud which has the same interface. This will be a much smaller file (without images is even smaller -> ‘All assets’ is without images, ‘Backup’ is with resized images).
- You can download the assets ‘All Assets’ from the processed task within the local instance, and then upload it to WebODM lightning cloud so you can access these maps from anywhere and also share them.
- It is better to use the local instance for processing with or without the lightning node, because this makes download of the assets more reliable. The result is available locally for download although the processing might require constant communication with the cloud.

